Raggedy Ann and Andy Christmas Tree Ornaments
Make your own Raggedy Ann & Andy Christmas Tree Ornaments
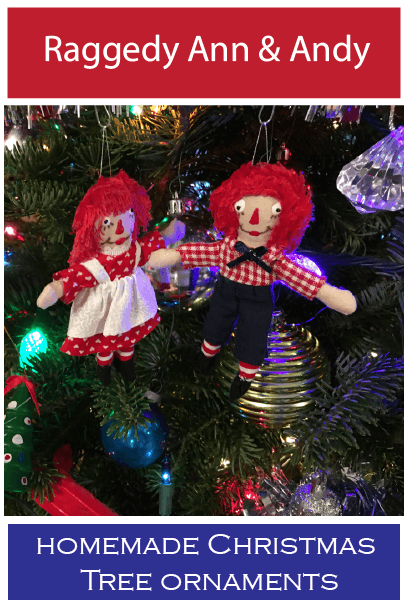
WARNING: These directions aren't for the faint-hearted or children. By the time the directions were reduced to get a 11.5 cm (or 4.5 inch) doll, the margin seams were very tiny - only about 2 mm. This requires hand-sewing and carefully treatment to prevent the fabric from shredding.
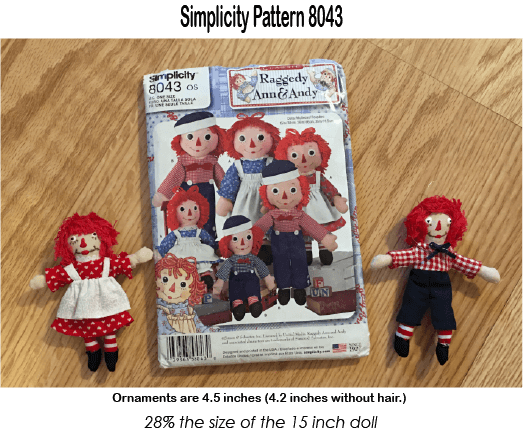
Simplicity 8043
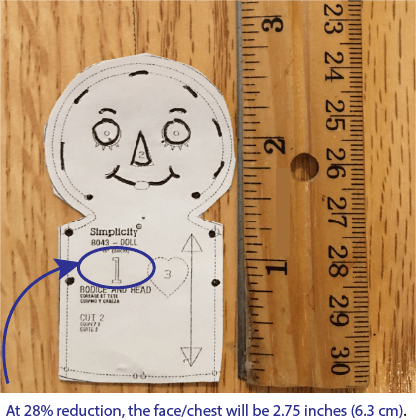
Made A Template
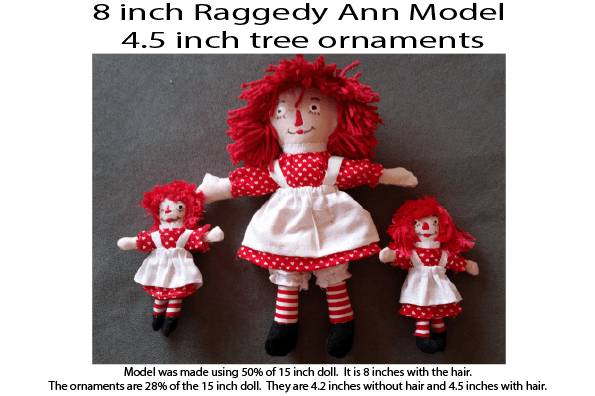
You should also note that the 7.5 inch doll made a great little toy to give to a child to play with. The 4.5 inch dolls can't be playthings. Their seams are so thin they would not withstand a child's manipulation. But they are pretty safe hanging on a tree. (Unless your German Shepherd thinks you put them there for him. Then they are toast.)
Reducing the Pattern
To get a 4.2 inch doll (11 cm), take the 15 inch pattern to a copy shop. You will need to reduce the pattern to 28%. Before you leave your home, get organized:- Find the pattern pieces for the 15 inch doll.
- Cut them apart so you can place them on the copier
- Have your handwritten master set of instructions of what pieces you will reduce, and check them off as you go.
More Directions
If the copier you are using won't allow you to reduce to 28%, try this:- Take the 15 inch (38 cm) patterns
- Reduce to 50%
- Reduce those to 80%
- Reduce those to 70%
I made 12 copies of each pattern (24 for pieces #1-7 which are used for both Ann and Andy.) Each piece was used once then tossed. Believe me, with these little pieces it is a LOT less work to hit the copy button on the copier than to pin and unpin and keep these little bitsy pattern pieces.
Supplies
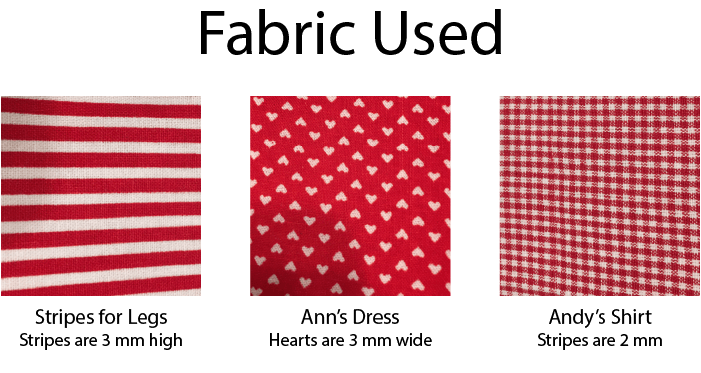
Fabric
All fabric was 45 inches wide.Both Dolls
For 24 dolls:- Skin (pieces 1, 4, 7: face, arm, wig) 1/2 yard
- Striped legs (piece 5, leg) 1/4 yard
- Shoes (48 shoes) (pice #6) 4 inches (or 1/9 yard)
For Ann
- Ann's Dress (#8) 12 inches (1/3 yard)
- Pinafore and Bloomers (#9, 10, 11, 12) 2/3 yard
For Andy
- Checkered Shirt (#13 - 16) 2/3 yard (get extra if your pattern can only go in one direction)
- Solid blue for pants (#17, 18, 19) 1/3 yard
Excluded
I did NOT include the following: which you can add or skip:- Piece #2 (I Love You) heart sewn on the chest - Since I sewed their clothes on to them, it wouldn't be seen anyway.
- Fabric or buttons for eyes or nose. These were painted on with fabric pain
- I elimated all snaps, hooks, and buttons as the clothes were sewn permanently onto the dolls. Trust me, you aren't going to be undressing these ornaments.
- Andy's bow (pattern piece #20 (I used 1/4 inch ribbon instead.)
- Andy's hat was removed. (He was hung by a thread from his head.)
- Ann's bloomers are also optional.
- Front buttons on Andy are optional as a decoration. If you use them, get the smallest buttons you can find.
Other Supplies
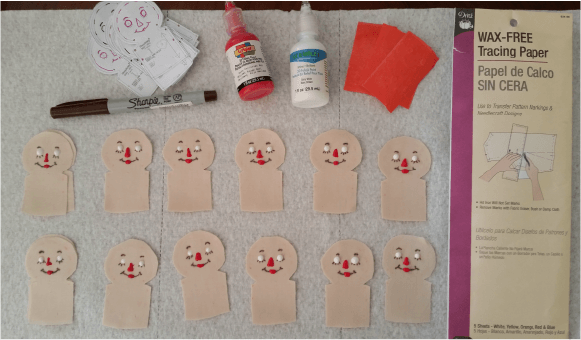
- White and red fabric paint for face. Get thin tip.
- Very fine black sharpie and brown sharpie for face
- Fabric Tracing paper (your favorite method of tracing will work)
- 3/8 inch elastic (4 mm) for Ann's pinafore and bloomers
- 1/4 inch blue ribbon for Andy's bowtie
- 1/4 or 1/2 white trim for Ann's collar (1/4 is better)
- 24 packs of red embroidery thread (DMC #349)
- Matching thread
- Thin silver thread to make loop to hang on a tree
Modifications
Here are my recommended modifications which will be needed when working with small pieces.Laying out and cutting:
I cut out all the pieces for all the dolls. Do follow their directions, particularly when it comes to placing pieces on fold lines (like Ann's dress.)
Also, be super-careful with the stripes on their legs. The arrow on the pattern piece will be perpindicular to their stripes.
I cut all the pieces out and kept them in their own zip sandwich/snack bag. I did all the steps on every doll before going to the next step. (Occasionally combining some steps in a group as desired.) Caution: when cutting out Andy's collar (piece #15) don't make notch in the center.
Modifications for the DOLL
Note: Numbers below refer to the numbers on Simplicity's instructions. 1. Transfer markings to the face and paint the face while it only one flat piece.- A. Use white paint for eyes. Use red paint for nose and lips.
- B. When paint dries, add black pupils with fine tip sharpie.
- C. Add the rest of the mouth and the eye lashes with brown sharpie.

14. Cut the cardboard about 2.5 inches x 2.5 inches ((6.5 cm x 6.5 cm) I used one skein of embroidery thread for each wig.
Modifications for Ann's Dress
2. 3 inches (7.5 cm) of trim for each collar4. 3/4 inch (2 cm) elastic on each sleeve
5. Turn the dress right-side-out and put it on the doll. Final seem was sewn shut on the doll. Sorry, no changing this little doll's clothes.
Modifications for Ann's Pinafore
2. 2 inches (5 cm) of elastic for the waist8. Skip the snaps and crossing the straps in an X. Stitch on at the back.
Modifications for Andy's Pant Suit
2. Skip cutting the notch in the center of the collar. The pieces are too small to allow for the flat, open collar.8. After making the dart in the front of the pants, sew all hems for all four pieces. Be careful on the outside to leave the flap so the seam can open outward by following the dots. (optional)
12. Turn pant suit right side out, put on Andy. Sew it shut on him.
12 Raggedy Ann Dolls
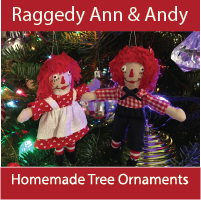
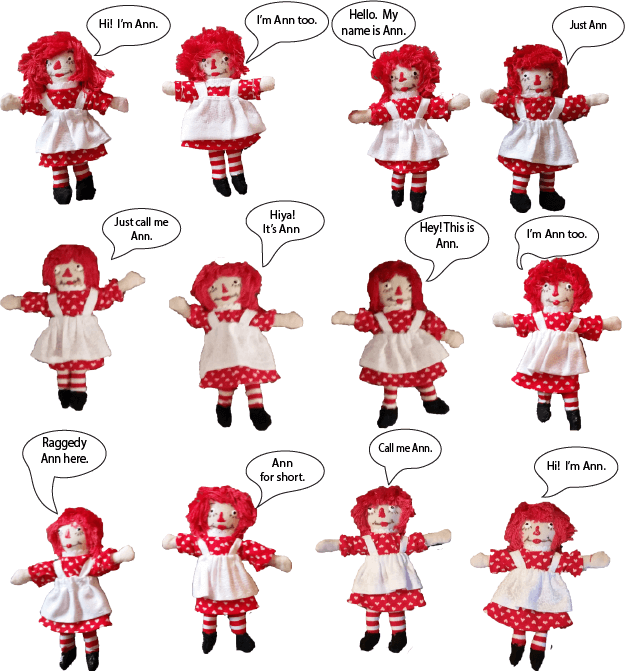
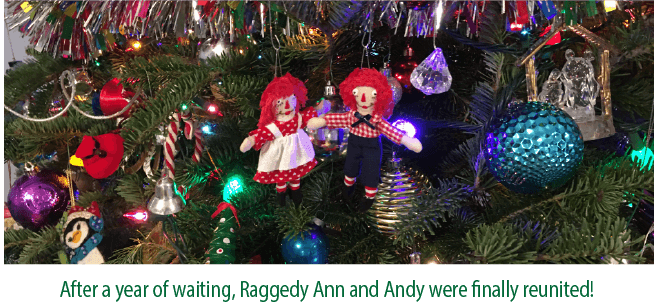
Year #1: Twelve Raggedy Ann dolls were handmade and given to close family and friends. And in spite of the fact they were all made by the same person at the same time, they all came out a little different.
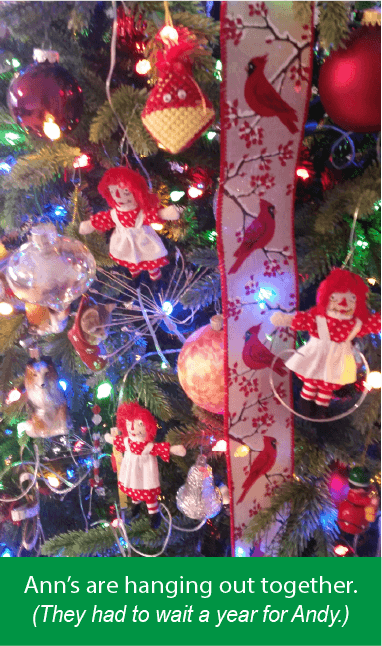
Here comes Andy!
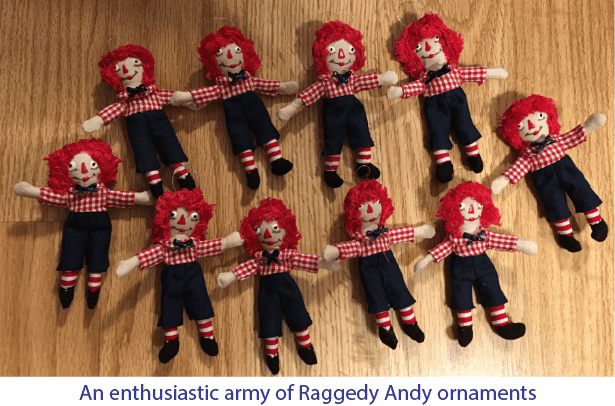
It took another year to make the twelve Raggedy Andy ornaments.
By Karen Newell Copyright© 2009 - 2025 Learn For Your Life All Rights Reserved
