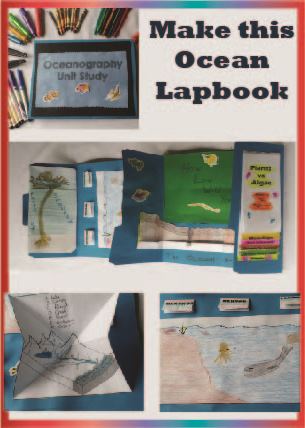
Ocean Lapbook
Top off your study of the deep sea with the templates for this colorful ocean lapbook.

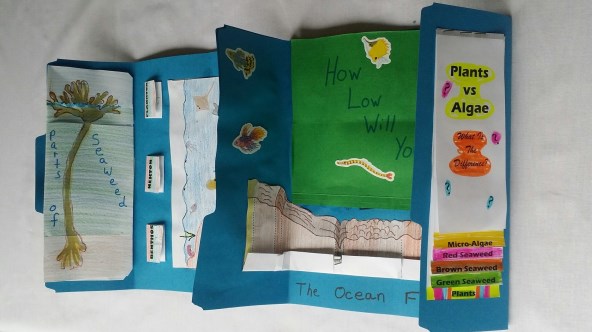

An inside look at the panels in the ocean lapbook There is at least one fold out for each of the objectives from MatchCard Science Ocean Unit Study. In addition to the re-usable MatchCards and the regular review game, students include the content in their lapbook which they will proudly share.
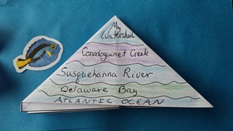
Ocean Map Fold Out
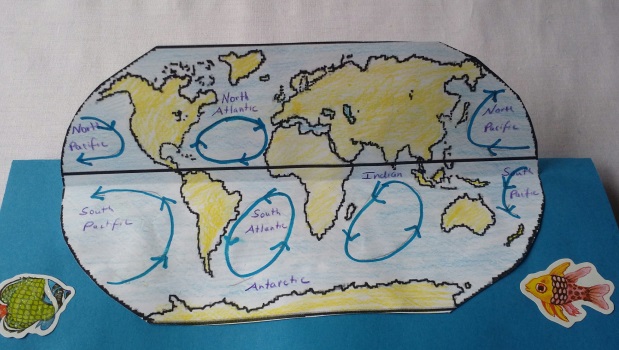
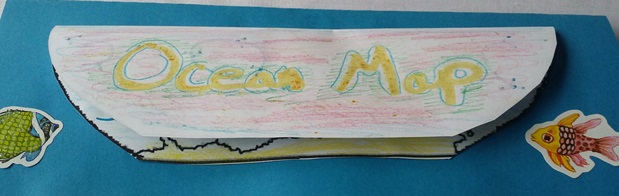
It was glued on Panel #1.
Parts of Seaweed Booklet
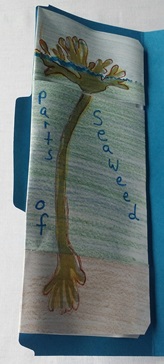
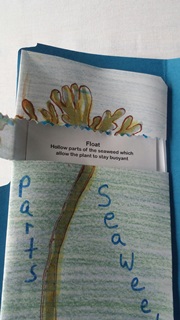
The name and description of each part of seaweed is in the inside flap.
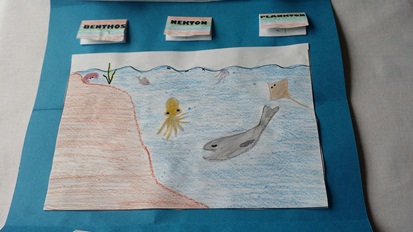
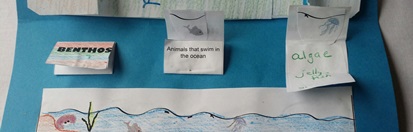
Ocean Creatures
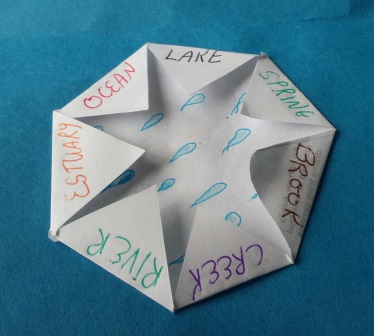
Water Routes
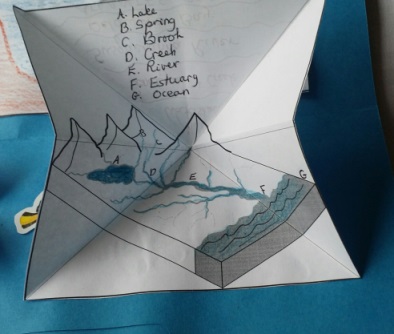
The MatchCard diagram was shrunk. The different parts of the watershed and waterways were labeled. It was then cut into a square, folded, and collapsed as a triangle.
The Ocean Zones
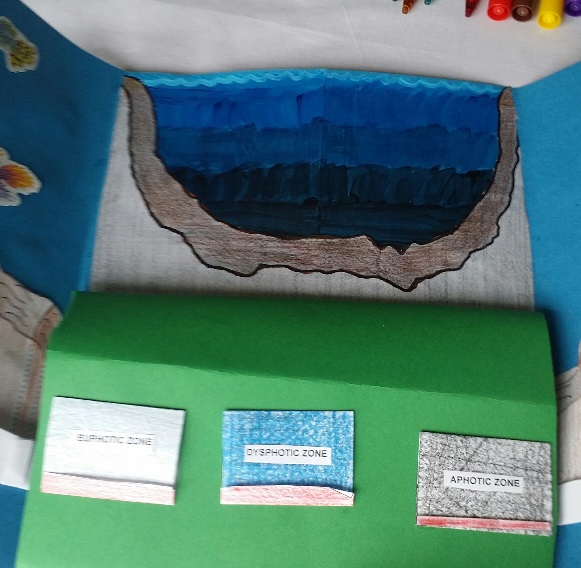
A diagram of the ocean basin was colored using different layers of color. The basin was cut out and and glued over the ocean zones once the paint had dried.
Small match books were made out of tri-folds for each of the three major ocean zones. The name is on the front, the area and defintion are inside the booklets. The thin red area at the bottom of the front was colored red like the bottom of a match book.
The Ocean Floor
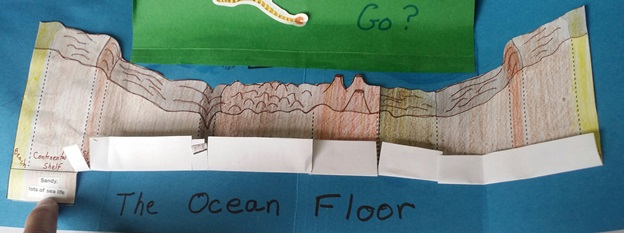
The diagram of the ocean floor from Ocean MatchCard #4 is at the bottom of the Panels 6,7,8,& 9. Each section was colored using a color-on-color technique with colored pencils. The features on the surface of the ocean floor were highlighted with a thin brown marker. (You may wish to use an ultra thin black marker if you don't have brown. The ultra thins work better than the regular thin markers.)
At the bottom the flaps indicate the name and features of each part of the ocean floor.
Algae, Seaweed, Plants
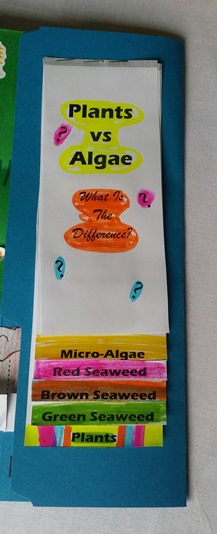
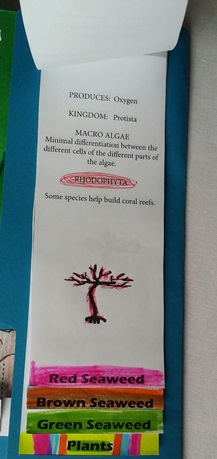
Colored ink pens emphasized the diagrams and key information.
Making the Cover
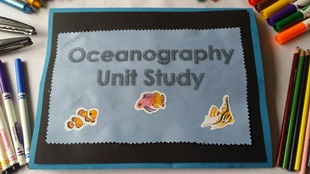
One quarter inch was cut away from each side of black cardstock.
The blue paper was glued onto the black cardstock and the black cardstock was subsequently glued to the front of the unit study lapbook.
Glitter fish stickers were added to the cover and to different areas inside the folder.
What Will Your Lapbook Look Like?

That's Not all Folks!
You might like to liven up your ocean study even more with our list of ocean tales from classic literature. Fierce storms, fearsome sea monsters, and fearless adventurers will capture their imagination and enliven your studies.MatchCard Science
How To Use MatchCards
Download the FREE MatchCard Science Instructor's Guide and see how MatchCards can make building their science knowledge base fun.
Astronomy Unit Study
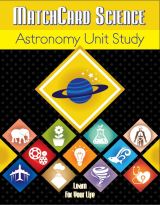

Explore the universe with the MatchCard Science Astronomy Unit Study..
12 Science Unit Studies
Chemistry is only one of twelve complete unit studies for kids in 3rd to 8th grade.
Comprehensive objectives, hands-on projects, suggested science fair experiments, and the fun game-like MatchCards keep them interested in learning science. See all twelve MatchCard Science Unit Studies.
Ready To Use Resources


About Our Site
Hands-On Learning