Chemistry Lapbook
This chemistry lapbook will enable your students to review all chemistry concepts.
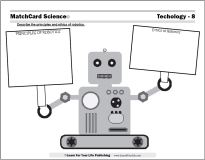
MatchCard Science Chemistry Unit Study is the basis of your free lapbook template.

Use MatchCard Science Chemistry Unit Study for Your Lapbook
Your choice:- Download the entire chemistry unit study complete with Instructor's Notes
Or
- Download the individual chemistry lessons for the 13 different lessons in the chemistry study.
How to Make the Lapbook


- The 13 MatchCards in the MatchCard Science Chemistry Unit Study
- Two file folders made from CARDSTOCK (plastic doesn't work)
- Colored pencils - Prismacolor have a superior effect, but any colored pencils may be used
- Thin and Thick Markers
- Gel Pens
- High Lighters
- Glitter Foam and Glitter Glue
What We Did With The Different MatchCards
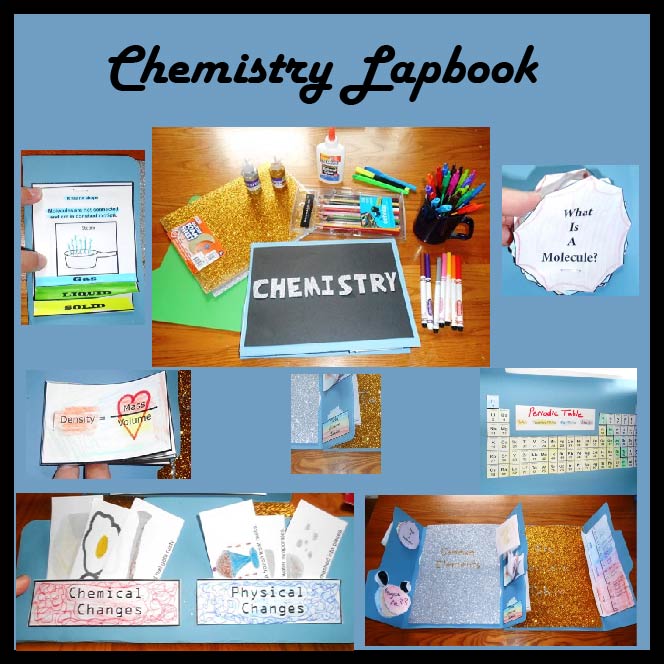
This will give you an idea of how we represented each of the lessons in our Chemistry Lapbook. We printed an additional copy of the student MatchCard (sometimes the teacher's key which will be indicated.) Of course, we also used the MatchCards for their intentional use as an educational tool and review game.Parts of Atoms
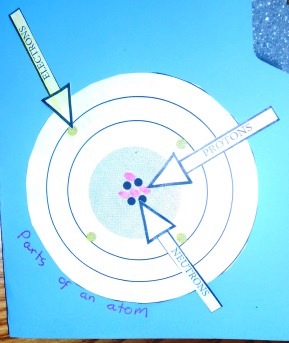
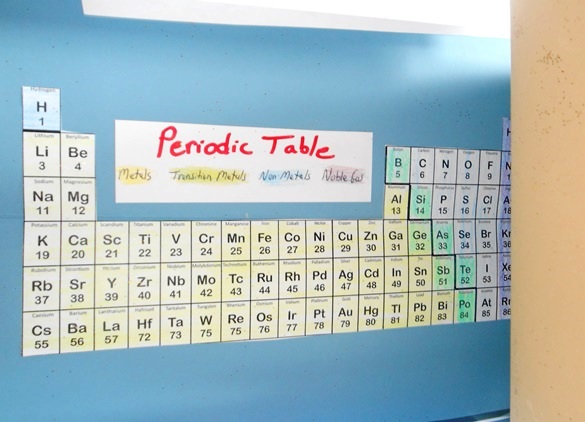
Common Elements, Chemical Symbol, and Atomic Number
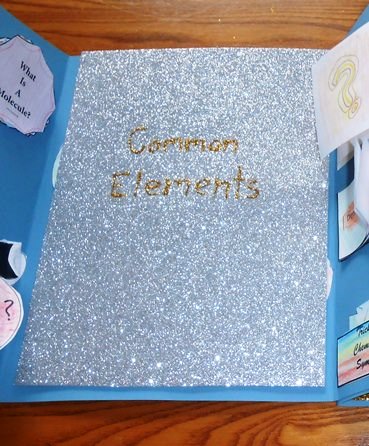
For the lapbook, the students colored each element with a colored pencil, then used a marker of the same color to mark the electrons in the electron shells. These were glued onto one of the full size pages of the lapbook.
A large flap was made. We cut a slice off an 8.5 x 11 inch sheet of silver glitter foam (available at most craft departments) so the folder could close easily. "Common Elements" was written with gold glitter glue.
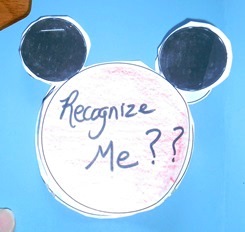
What Is A Molecule?

The shapes were all filled in with different prismacolor pencils and cut out. Before stapling them together at the bottm, each octagon was turned a fraction of circle giving a snowflake appearance. Therefore we have a snowflake molecule explaining the existence of molecules.
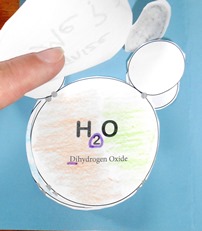
Water Molecule

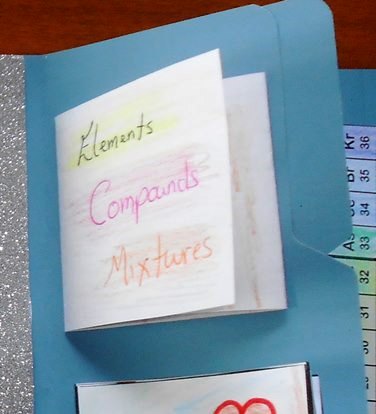
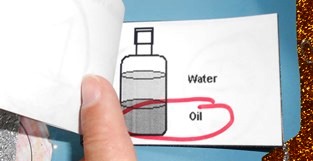
Elements, Compounds, and Mixtures

Physical and Chemical Changes
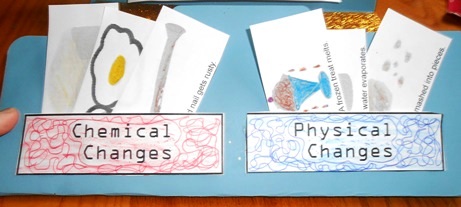
Then we made pockets that said "Chemical Changes" or "Physical Changes." Colored ink pens were used to create a maze-like design, then the paper filled in with the corresponding color pencil. It was glued on 3 sides leaving an opening in the top. The pictures on the MatchCard were cut apart to make little flashcards that are placed in the correct pocket.
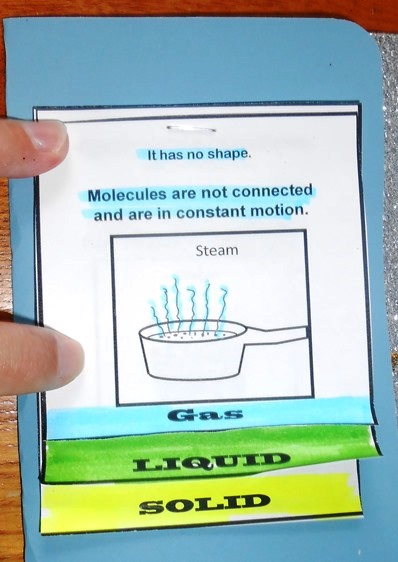
Solid, Liquid, Gas
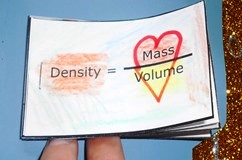
Density
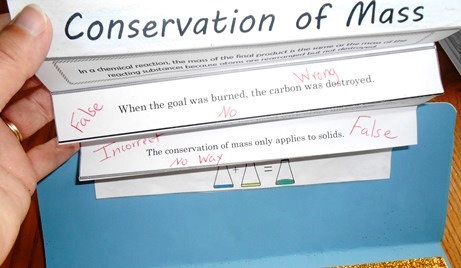
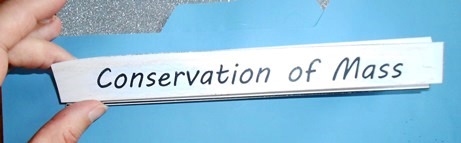
Conservation of Mass
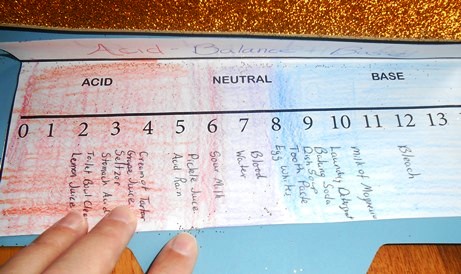
Acids and Bases
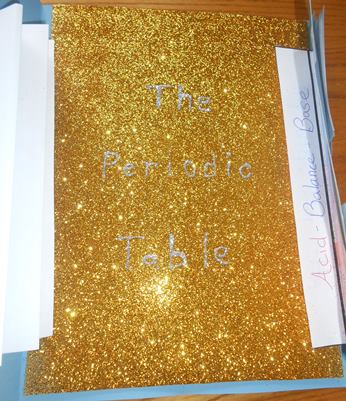
Periodic Table
Tricky Chemical Symbols
A rainbow of colors was striped down the pocket and glued on three sides.
Finish the cover of your Chemistry Lapbook
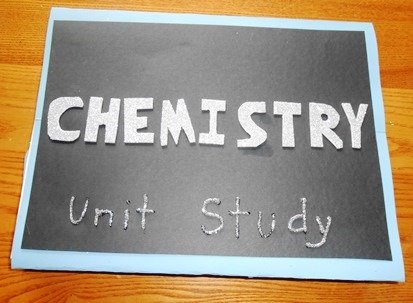
And "Unit Study" was written with silver glitter glue.


MatchCard Science
How To Use MatchCards
Download the FREE MatchCard Science Instructor's Guide and see how MatchCards can make building their science knowledge base fun.
Astronomy Unit Study
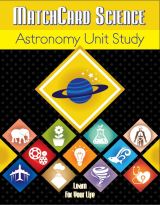

Explore the universe with the MatchCard Science Astronomy Unit Study..
12 Science Unit Studies
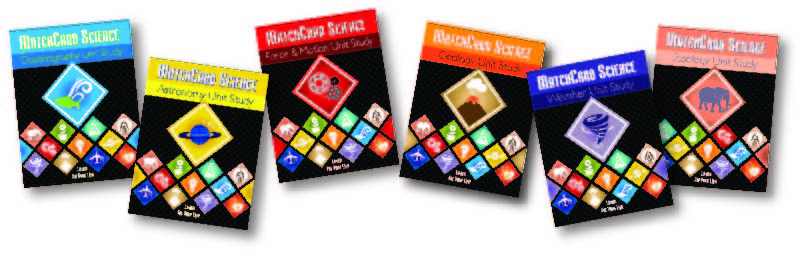
Chemistry is only one of twelve complete unit studies for kids in 3rd to 8th grade.
Comprehensive objectives, hands-on projects, suggested science fair experiments, and the fun game-like MatchCards keep them interested in learning science. See all twelve MatchCard Science Unit Studies.
Ready To Use Resources


About Our Site
Hands-On Learning